Thursday, May 5, 2016


... I was particularly intrigued that it [Manus x Machina] would stimulate a conversation exploring the relationship between what is made by hand, and what is made by machine. That it would challenge the preconception held by some, that the former is somehow inherently more valuable than the latter. In the design team at Apple, we do share similar preoccupations and goals with the designers whose work you will see here today. Many of us I think believe in the poetic possibilities of the machine, while in equal measure, we have tremendous respect and admiration for what is made by hand.

Our goal has always been to try to create objects that are as beautiful as they are functional; as elegant as they are useful. Our physical designs are informed by our passion for materials and processes, based on an experience gained from making things actually ourselves.


Surprisingly fewer and fewer designers, regardless of their particular design discipline, seem to be interested in the detail of how something is actually made. With a father who is a fabulous craftsman, I was raised with the fundamental belief that it is only when you personally work with a material with your hands, that you come to understand its true nature, its characteristics, its attributes, and I think – very importantly – its potential.


As I have watched the exhibition's narrative evolve, it has been exciting to see craftsmanship considered not only in the context of today, but also the future. The Chanel dress that Tom [Campbell, Met director] mentioned, which was Andrew's inspiration for the exhibition, is a wonderful example of artisan-like craft executed with the deepest consideration, yet enabled with the every latest technology.


Most breakthroughs in craft were once, of course, perceived as truly innovative. Often shockingly so. Once, even the simple metal needle challenged the conventional thinking of a time. I'm humbled by the innovations of the past, in the same way that I'm humbled by the work that we can see here today.


It's easy to think that craft can't change, but important to remember that all craft process was at some point new; at some point challenged convention – not to be contrary, but enabled by some breakthrough; some newly discovered principle, or sometimes some wonderful accident.

Fundamentally though, the most critical of all for me in this discussion is the notion of care. When something's made in the smallest volume, as a one-off couture piece, or in large quantities, deep care is critical to determine authentic, successful design and ultimately manufacture.

It is extraordinary care and resulting beauty that I recognise in every object here today. Regardless of whether is has been made by hand or by machine, it is creation led by great consideration, rather than driven by a preoccupation with schedule or price.

I believe this will resonate with visitors to the exhibition. Ultimately, it is the amount of care invested – whether machine-made or handmade – that transforms ordinary, modest materials into something extraordinary.

I would like to sincerely thank Anna, Andrew, Tom and the team here at The Met on behalf of all of us at Apple, for the opportunity to be a part of this beautiful and thought-provoking show. I know that it will be an inspiration to many, and challenge us to recognise that far from being mutual exclusive notions, technology are craft are of course not at odds. And much like beauty and utility, go hand in hand – all the more powerful in combination.

-Jonathon Ive


Thursday, April 28, 2016

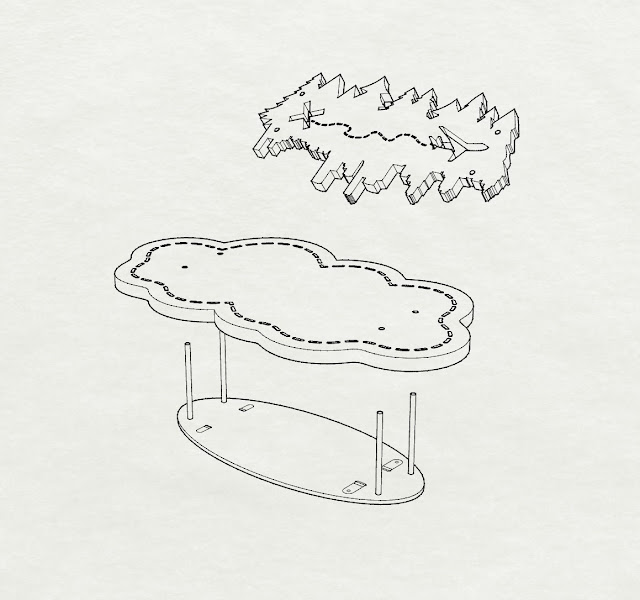
photoshopping/samples/tests


For the final:

Blog:  
50 posts, these posts should reflect the research for the projects made in my class as well as any use of technology at the bench, Please include links to pinterest pages. 

Chain:  
You must have completed a chain using laser cutting, material choice is up to you and it should have some sensitivity to material thickness in regards to joints/connection points.  

Brooch/Merit badge:  
You should have five layers of material (this could be plexi, photos, wood, metal etc) The content/imagery should support the concept.  Your brooch should commemorate a person place event or object.  This could fall into the form of a merit badge or memento mori piece. Your brooch should be completed with the same care you give to your metal piece.  Surfaces should be free of unintentional surface scratches, excess solder and joints should be clean. All surface treatments should be tested (spray, wax, sand blasting, scoured finish). This is your big final piece. I am also requiring photographs of your final piece being worn. It should be a split photo with one shot on the body and one shot off the body.   

Thursday, April 14, 2016


Once wound around your enamel, mark and cut as if you are making a large jump ring.  IF you cut carefully, you will have a nice seam to solder.


The square wire is slightly twisted on the spool  so you may have to twist it flush to make sure your seam is straight. Try to make the seam as straight as possible before you solder. 
Use hard solder! 


I usually over flux and then wipe it off with my finger.  Make sure you wash your hands before you pick your nose or eat a sandwich. 


Place a small chip of solder so it crossed the seam.  Heat up slowly.  Let the moisture from the flux evaporate slowly.  If you heat it up too fast the flux will boil and the chip will fall off.  


Once soldered, pickle it, dry it off and then shape it on the cone mandrel.  Again, this is your opportunity to remove the twist.  Hammer down on the mandrel so make it flush. 


If there is still a twist in the metal use the fancy stomping thing (AKA the stationary planishing hammer) to make it dean flat.  Watch out for your fingers! 


At this point you may have to file it flush on a flat surface. 


I like to file it round on the cone mandrel so I do not get too carried away you may file a flat spot on your piece. 


I have stuck a large sanding disc to a tile so you can sand objects flat. 


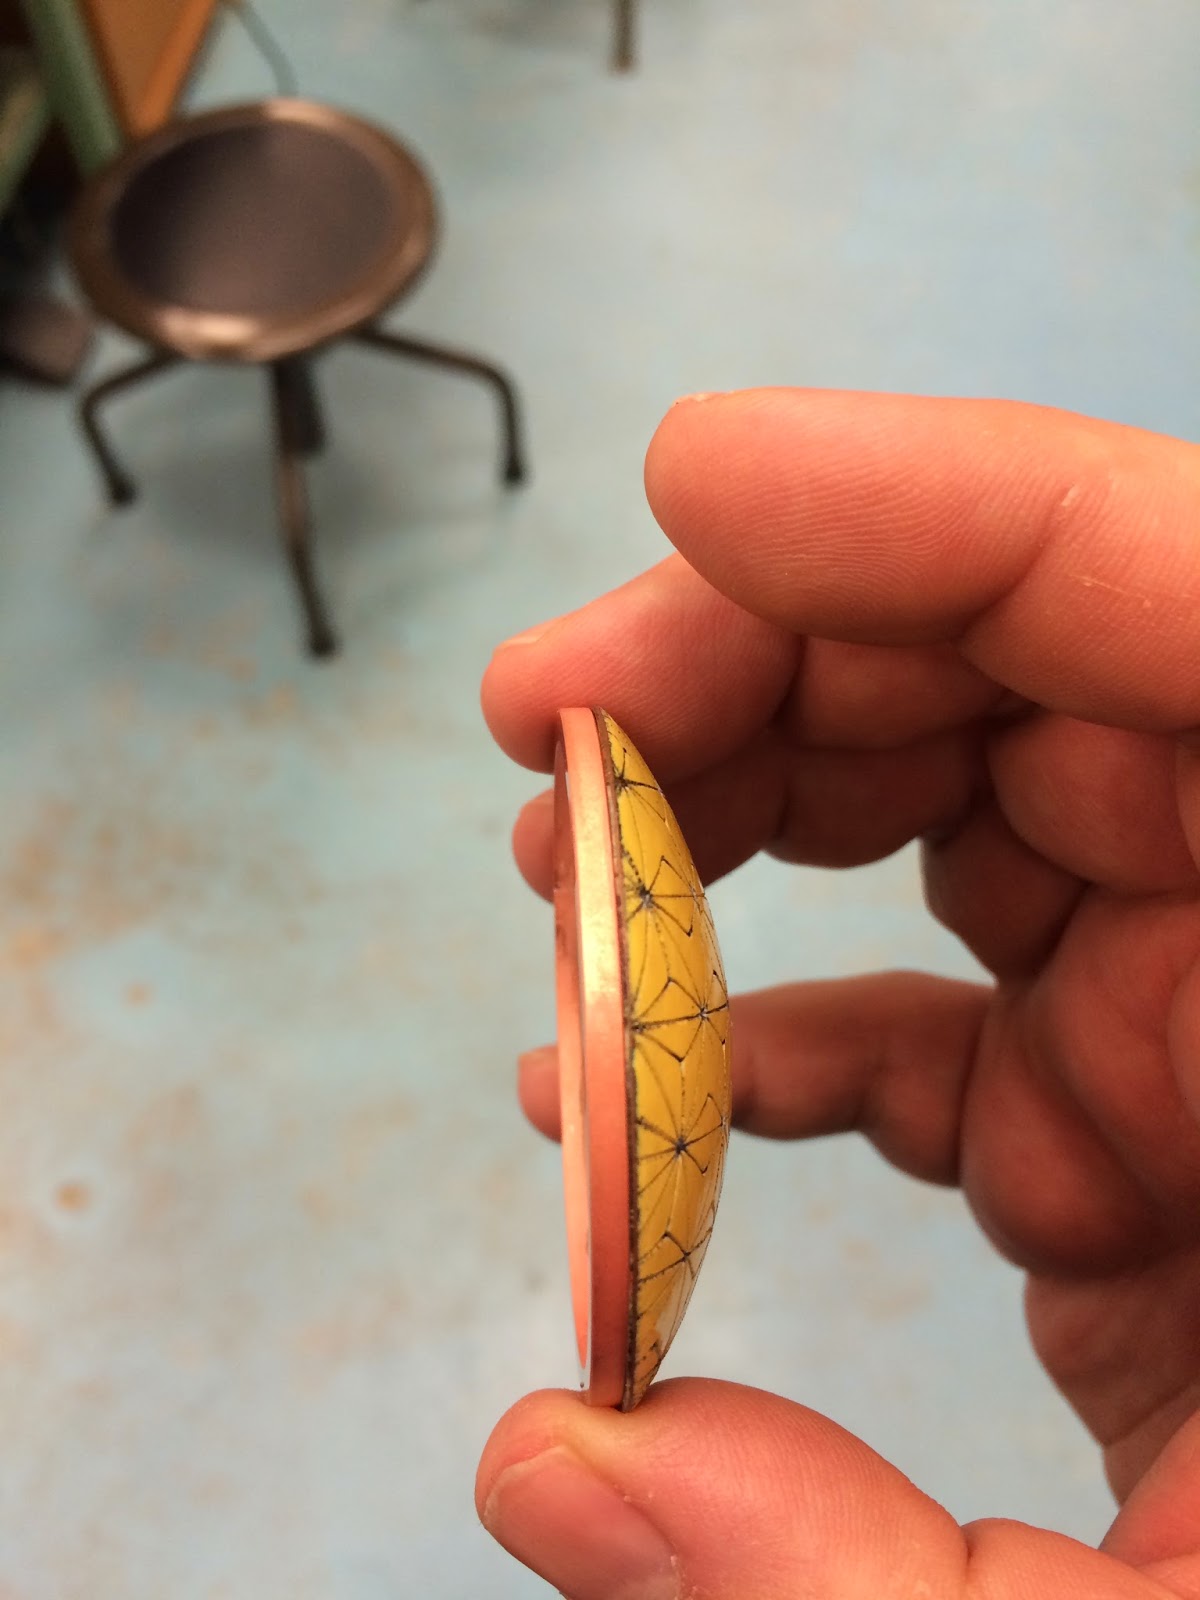
Test fit you frame to check to see if it is flush with your enamel.  If it is not, anneal and flatten it more with the stationary planishing hammer. 


Now for the tabs.  First, you have to select a gauge metal that you can easily press over your enamel.  We happen to have some thinner strip that (at best guess) is around 22 gauge?


I try to clip the strips at the same length with my nips.  I use the nip hinge point as a reference.  I am going to use four tabs but you could use three or more.  


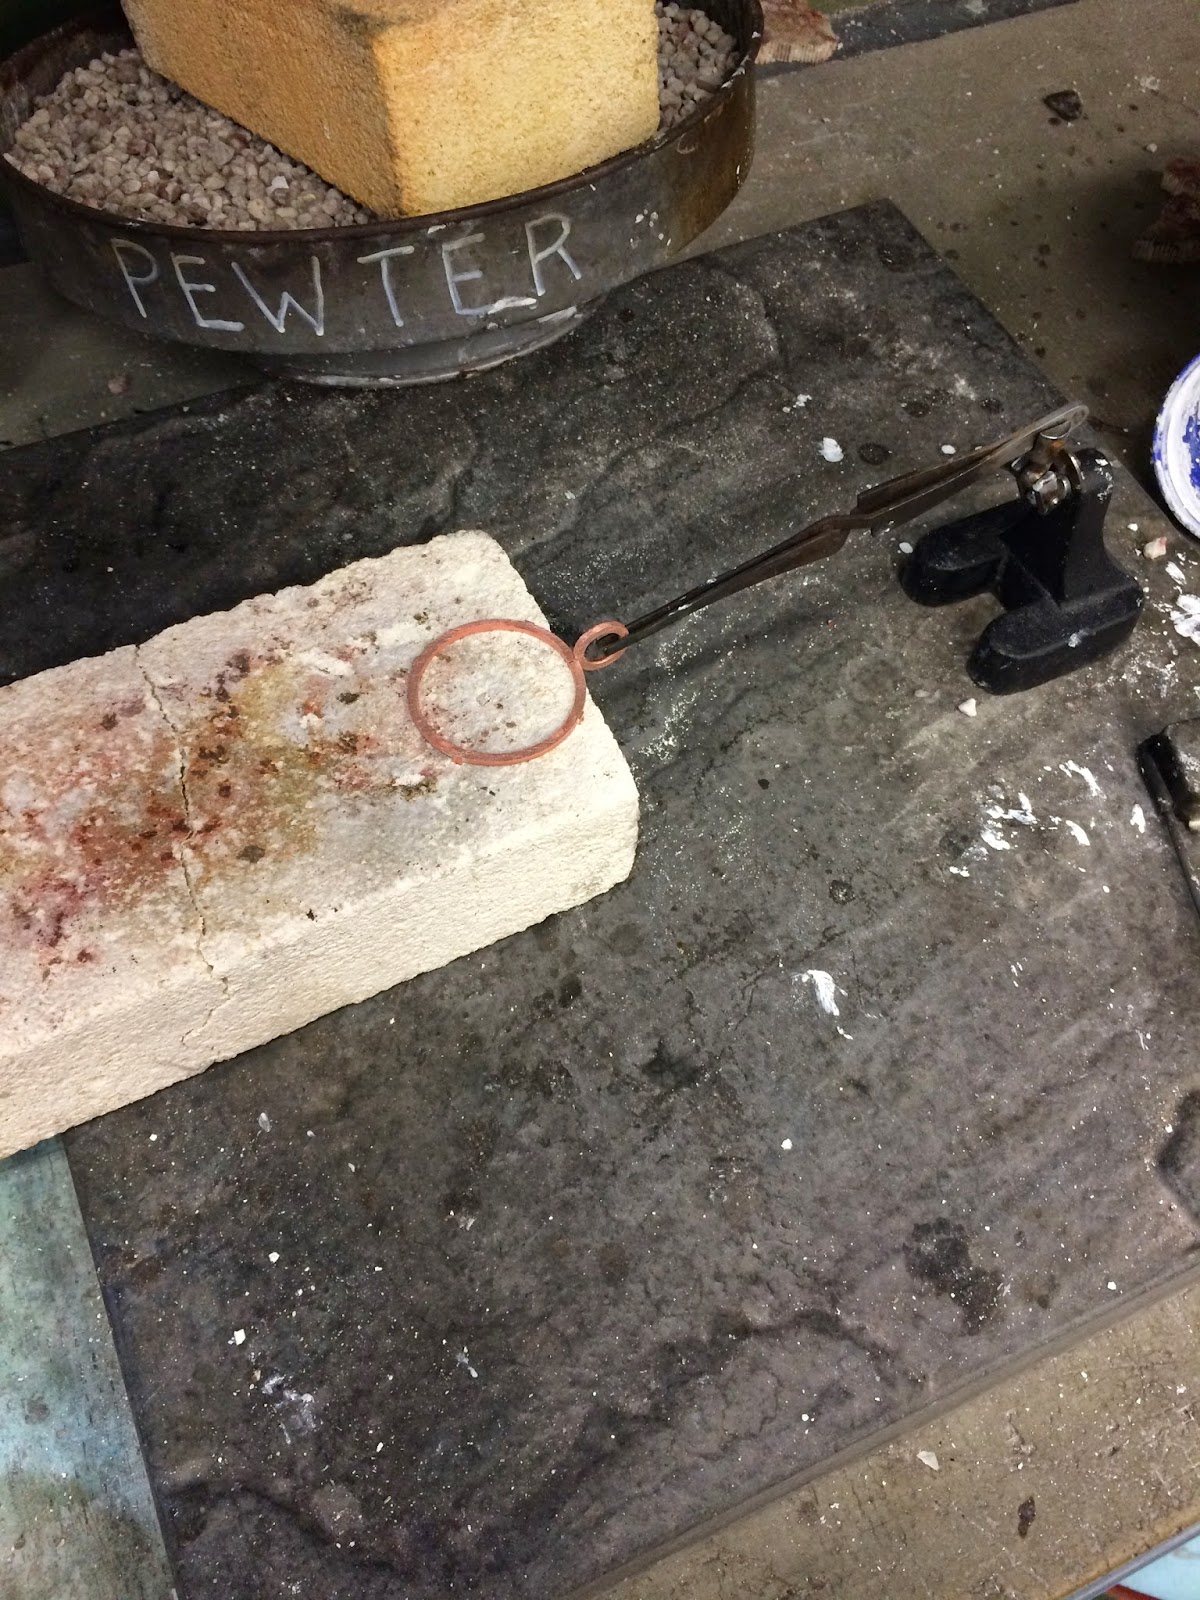
Once you have cut your strips, find a flat soldering brick and hammer your tabs in around your loop.  I have found that with soft fire brick you can almost shove them in by have or with pliers.  


Try to create some tension with the tabs in order to pin down your frame.  


Test fit your piece along the way to make sure it fits.


You may have to flatten the tabs before you hammer them into the brick


Flux your tabs and push over your tabs in order to lock them in place.  It is too be noted that this is the back or the side that will be seen.  We will cut the tabs flush on this side. 


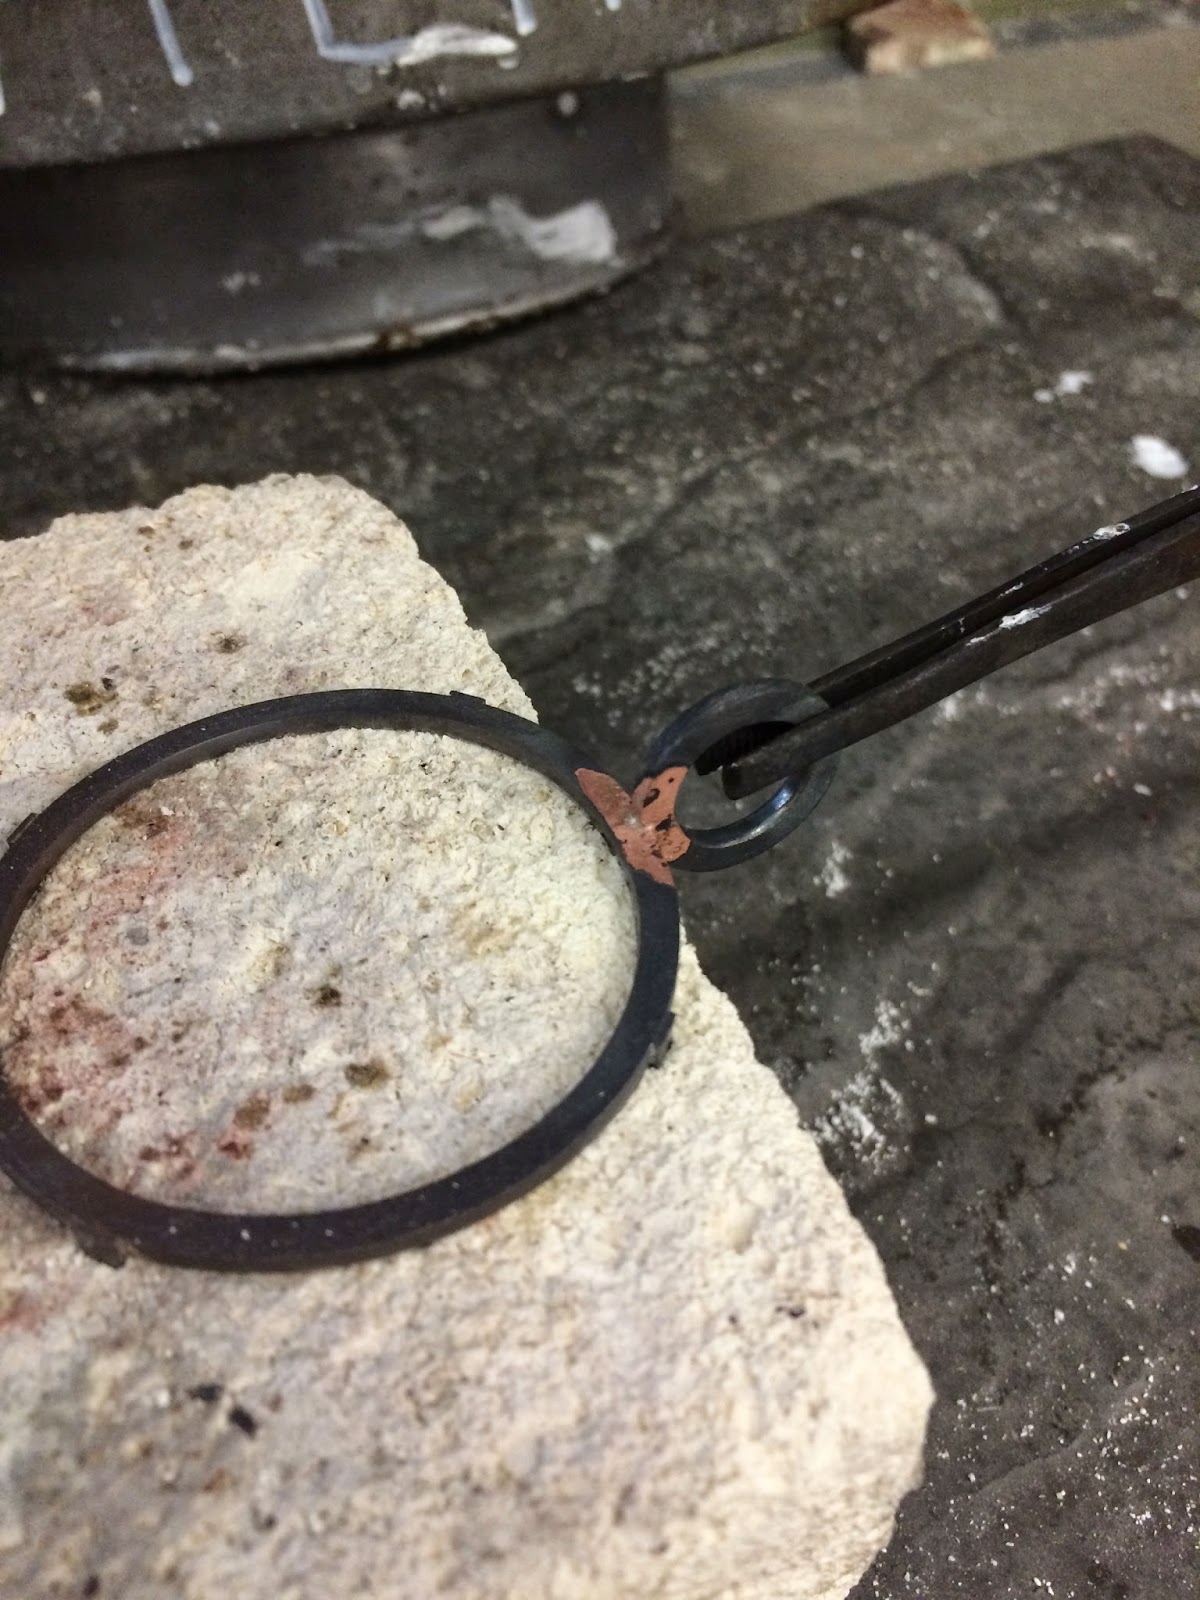
When soldering make sure to use indirect heat to solder the tabs in place (see image below).  Notice that I am not point the flame at the piece itself and using reflective heat.   I would use tiny chips of medium solder. 


Once soldered, wait a bit and carefully pry up your frame using a pair of tweezers. Remember that your frame is annealed and that it may bend if you pry it up too hard. 


Pickle your piece and check all of your seams to ensure the solder has flowed to the appropriate parts. 


Use a sharpie to mark the height of the tab and cut all the tabs using heavy nips or sprue cutters. 


Cut the back side flush with the frame.  The tabs can be slightly proud of the frame. We will sand this down later.


Sand the tabs flat on the back side


Check your fit! 


I don't like anything to snag so I file the edges of my tabs to be rounded.  


Next we are going to make our bail.  The bail will be what we are going to send our chain through.  Obviously we wont need a bail if this is a badge.  I like being consistent with the gauge metal I use so I used the same square stock.  Truthfully I think I made it way too big but it is easier to see for the demo so I ran with it. 


Grab a jump ring mandrel and wind the square stock as tight as you can get it (again, I should have made it tighter in diameter).  


Cut your ring using a jeweler's saw blade.  


In order for you to get a super flush seam, I often re-cut the seam with the jeweler's saw.  I will thread the blade in the and cut out from the center multiple times in order to ensure that seam is super flush before soldering. 


Again to get the twist out of the bail hammer down on the edge to coax it back to square.  


Use the planishing hammer to flatten the ring.  


Sand the ring flush


Use a sharpie to mark the thickness of the frame and your jeweler's saw to rough saw out a groove. 


I found a square file that was the same thickness of the frame.  I used this to file the groove to solder the bail to the frame.  You don't have to file a groove but it helps strengthen the seem.  


When you get ready to solder the bail on, I hammer the tabs back into the brick to the edge where I am going to solder the bail is sticking out. 


Use a third hand to hold the bail in place. Make sure to check all sides in before you solder to ensure alignment.


Use the jumpring mandrel to straighten the bail. 


You may have to file away the bail a bit in order for the enamel to fit. 


We will set and patina the piece next class.
Animated gif below.  


status update

What you should have done: Photomontage/First blog post Vinyl project/images Fold up brooch sample/ hydraulic die ...