1. Documented Vinyl wearable
(full color mounted 11" x 17" photographs) You may turn in multiple photos. Final images should be uploaded to your google drive folder. Vinyl wearable should address the temporary and address digital photography
2. H-pattern ring sample
Cut, formed and soldered
3. Fold up brooch with laser cut hydraulic die.
No soldering (must have pressed metal portion and pierced setting with fold up catch and tab system)
4. Laser cut stencil (one or more stencil)
5.At least 20 blog posts
(this should include research material for the projects above as well as your photo montage from the first class)
CO-Work Break hours!
FRI 3/24 8AM - 4PM (closed early)
SAT 3/25 CLOSED
SUN 3/26 CLOSED
MON 3/27 CLOSED
TUE 3/28 12PM - 4PM
WED 3/29 12PM - 4PM
THU 3/30 12PM - 4PM
FRI 3/31 12PM - 4PM
SAT 4/1 CLOSED
SUN 4/2 CLOSED


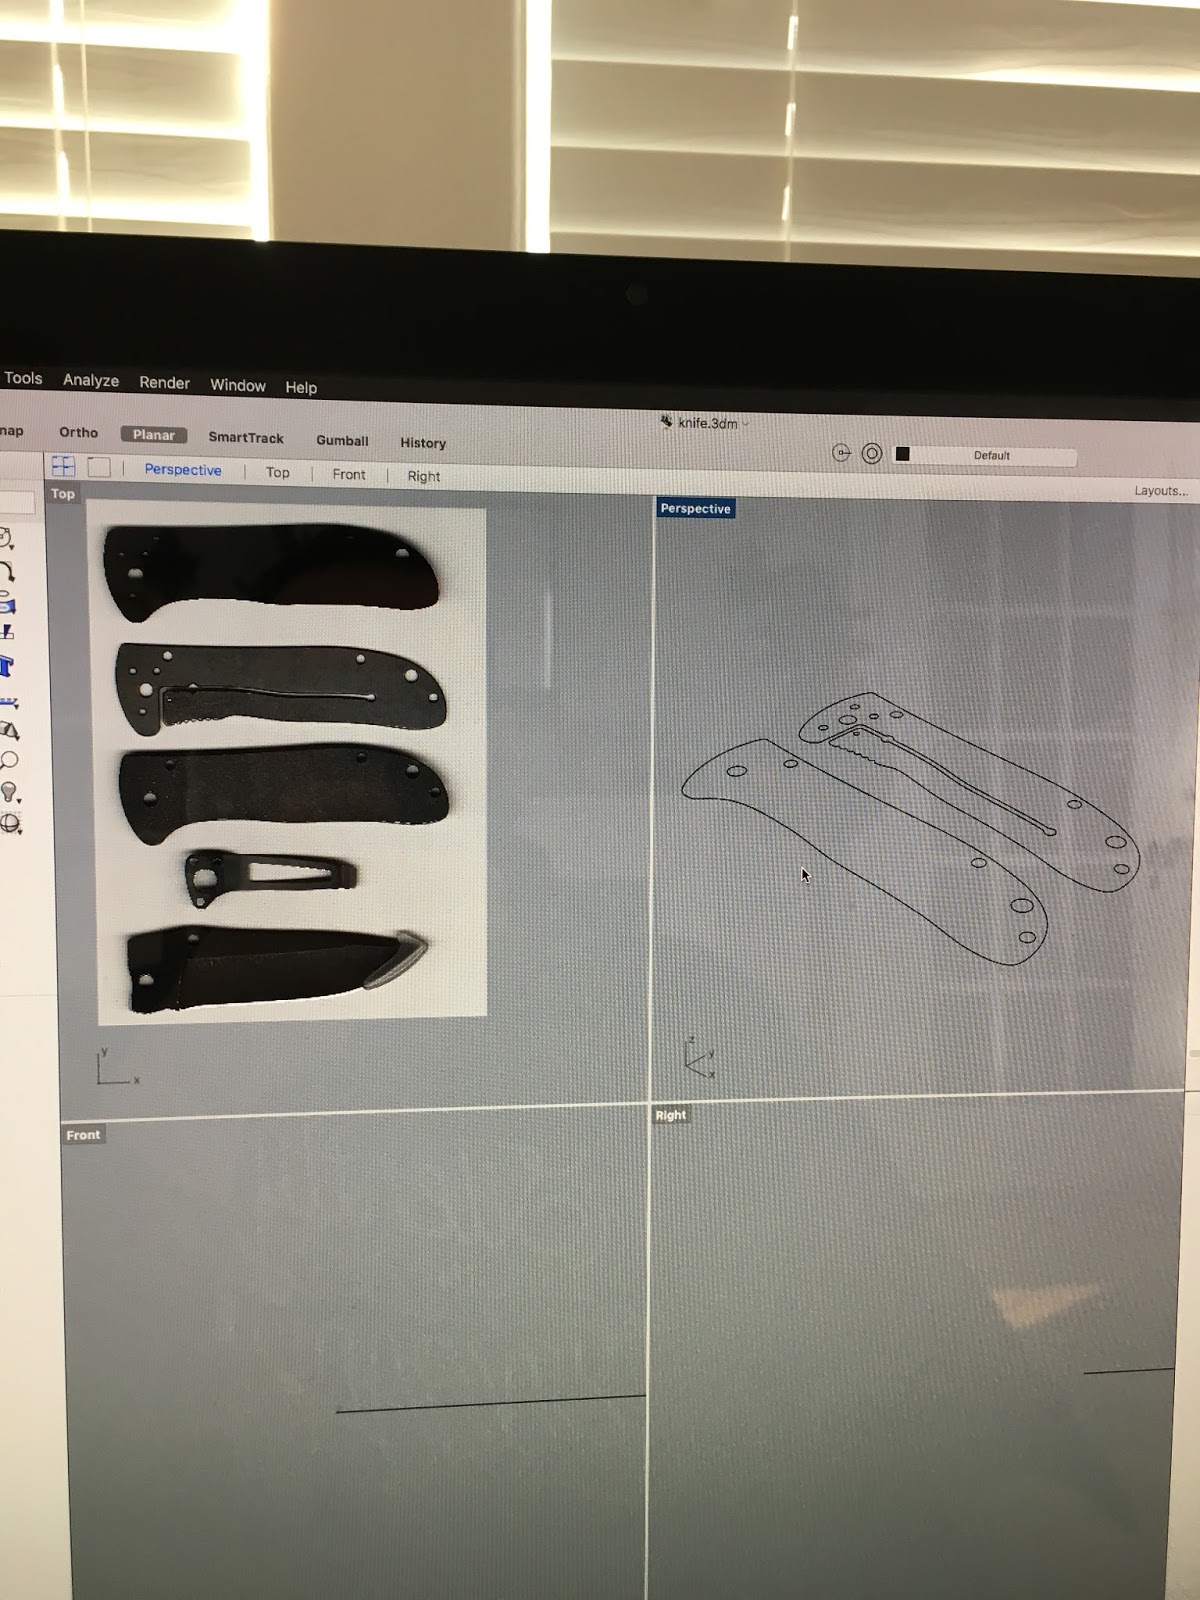
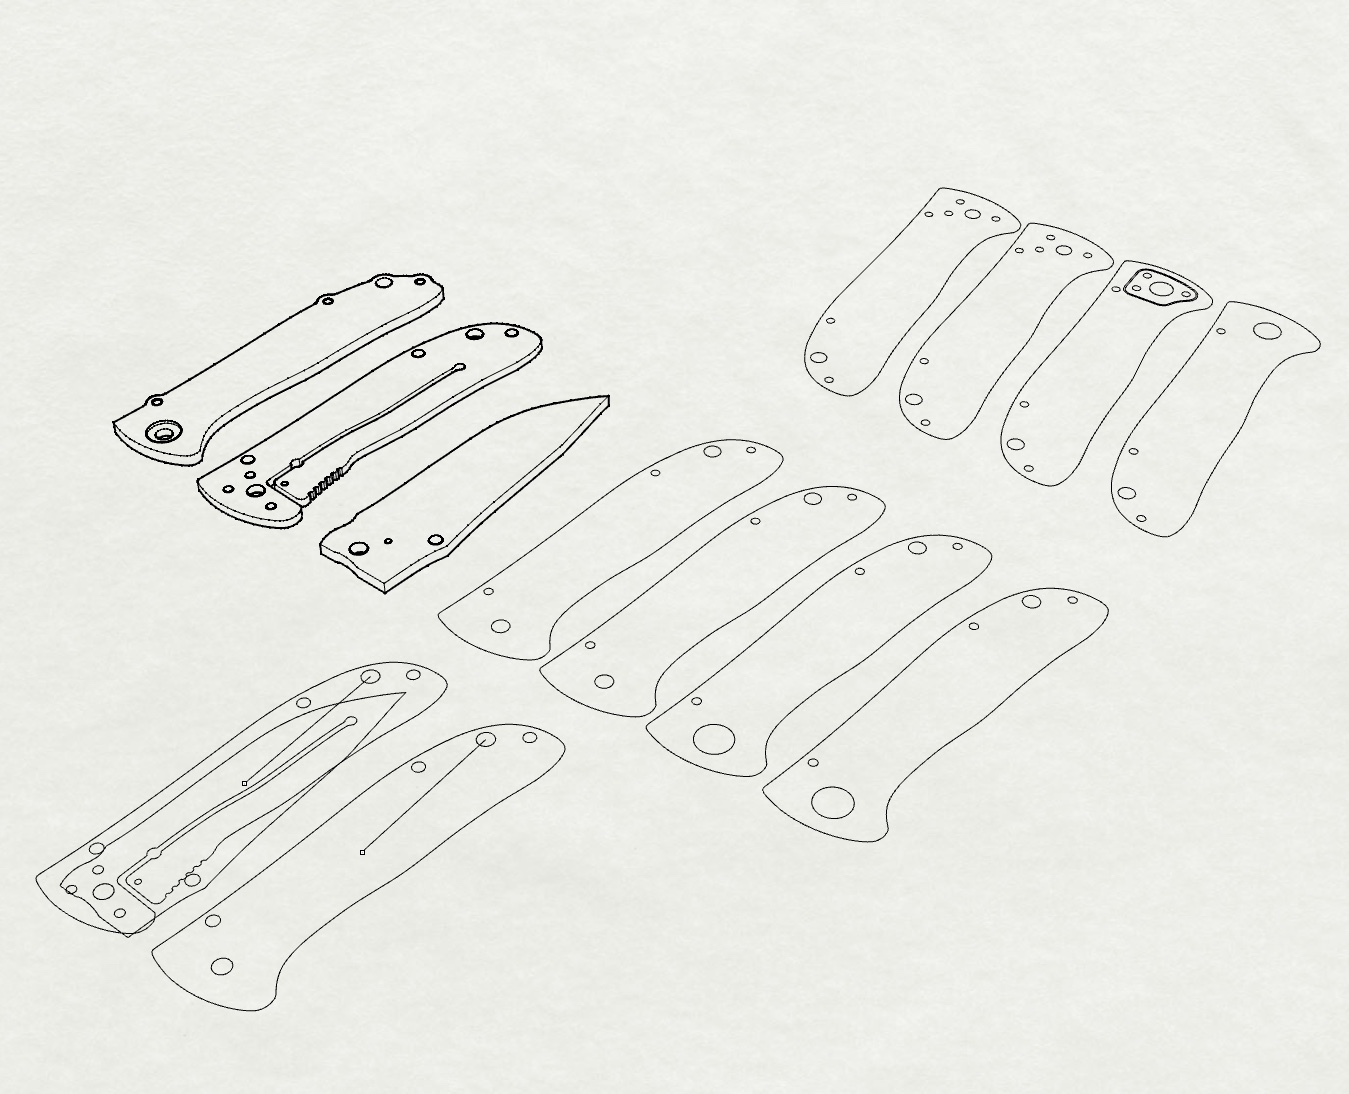


RHINO RHINO RHINO
Review Review Review
- Saving files: Save as, .3dm, .AI etc.
- Files from templates: inches, feet etc
- Rhino Options: Personalize how Rhino looks and works
- Units: Standard or Metric
- Grid: Grid size and spacing
- Appearance: Colors (background, major line, minor line etc.)
- Files: AUTOSAVE
- General: # of UNDOS(set to 100)
- Mouse: MIDDLE MOUSE BUTTON default. popup
- KEYBOARD: (MAC USERS CHANGE HERE)
- Toolbar layout Fly-out toolbar (Main1, main2)
- Viewport layout: left click hold
- Viewport view: right click hold, wire-frame, shaded, rendered, ghosted, x-ray
- Set view top, front, right and isometric
- OSNAP: end, near, point, mid, cen, int, perp, tan, quad and knot
- SNAP: to grid setting up snaps with the grid
- ORTHO: quick key shortcut: F9
- Line: Polyline, line from center
- Circle: from radius, diameter, 3 points
- Rectangle: from corner to corner, center, 3 points
- Ellipse: from center, diameter
- Polygon: (numb sides) from center to point, from center to edge, two points, star
- CPC: Curve from interpolated points
- Arc: from center, end, start and radius.
- Color: Changing object display colors
- Copy: Copy from reference object
- Move: Move from reference object.
- Rotate 2D: Rotate copy
- Gumball: Alt drag copy, units
- Join: closed polylines
- Explode: open polylines
- Move: using points
- Mirror: Along axis
- Trim: Trimming objects, dynamic trim
- Offset: Set distance, through-point
- Array: Polar, rectangular, Along curve,
- Layers: Creating layers, changing layers, colors
- Hide: Show
- Lock: Unlock
- Object properties: Color, label, group
- Curve Boolean: Delete, used, all
- Fillet: radius
- Chamfer: Coordinates
- Import background bitmap
- HISTORY: quick key shortcut: F2
- HELP: quick key shortcut: F1
- Group: Ungroup, Add to group, remove from group
- Sub-select:
- Object selection: Select by type, invert select
- Analyze: length, angle, radius, area
- Align: center, top, right, left, distribute
- Scale 2D, Scale 3D: Scale from reference object
- Files: AUTOSAVE
- General: # of UNDOS(set to 100)
- Mouse: MIDDLE MOUSE BUTTON default. popup
- KEYBOARD: (MAC USERS CHANGE HERE)


HOW TO CREATE A FRAME ANIMATION IN PHOTOSHOP
Create a new document.

Step 2:
Create a new timeline by going to Window>timeline.

Step 3:
The time line should appear at the bottom of your page.

Step 4:
Create your art. (in this case I just used a soft brush and a painted a squiggle)

Step 5:
To create your next frame in your animation in the layers palette click duplicate layer.

Step 6:
Create more art on the new layer.

Step 7:
Continue to build up layers/cells/frames. These will animate in order. Once you have completed your art click Create Frame Animation in the timeline at the bottom.

Step 8:
On the right hand side of the timeline click Make Frames from Layers.

Step 9:
Your layers should appear as frames in your timeline. This would be your opportunity to change the rate at which the frames advance.

Step 9:
When you have completed your adjustments go to File>Export>Render Video

Step 10:
Be careful picking your video settings. You wouldn't want it to be too high if it is for the internet. I suggest H.264 at HDTV resolution.

TACTUM – Tactile Augmented Reality from Madeline Gannon on Vimeo.


No comments:
Post a Comment